May 28, 2010

Trim carpentry

The last of the things that need paint – with any luck.

The baseboards went fairly smooth. There was one piece that had to be scribed and cut on the bottom edge due to an inexplicably high hump in the tile floor. There were several other places where the tile wasn’t perfectly level (it never is) but not enough that caulk wouldn’t hide it.

There is the usual trim (casing) around the door, and then some molding where the new drywall comes against the old drywall in the slanted ceiling at a 45 degree angle. Rather than trying to get fancy with a taped 45 degree joint, I concluded that molding would be the ticket. Why not?

With this, it truly is a big, empty white room!

May 24, 2010

Window Pain

All of us that have used temporary darkrooms (baths, laundries – you know who you are) have likely dealt with a window or two. Curtains, blinds, paper, bath towels, cement. I personally prefer aluminum foil and tape. This darkroom will be more or less permanent, or at least “dedicated”. The idea is that when and if we decide to sell the house, the room will be restored back to just a room. For some reason, having a darkroom is not the selling advantage it used to be; yet a “bonus room” is.

There is an existing 3’ x 5’ window. I could have taken the window itself out and bricked up the opening, but whatever I did, I wanted it to be reversible. (I also wanted to do it easily and inexpensively.) So, after some thought, I settled on a variation of the aluminum foil method. My preference for the metallic solution is that it is light-weight, and light proof. It also reflects heat. So, tape up the glass with solid pieces of foil, shiny side out, and the window will not transmit any light and very little of the Texas summer heat.


I used a piece of foam sheathing with foil on one side. This is normally used right under the rafters in attics to reflect heat away from the attic space. It is about a half inch thick and comes in 4’ x 8’ sheets. From one sheet, I was able to get a 3’ x 5’ solid piece and another that required only one splice. This gave a 1 inch thick piece of foil covered styrofoam in the window opening. A little caulk and it’s light proof and somewhat insulated. The window itself is a decent double paned specimen, so I was less worried about heat transfer than with older single glass sashes I have known. In fact, I am more concerned with condensation between the glass panels and the sheathing, but I’ll handle that if and when it happens.

My original plan was to have some air space between the two layers of foam (giving a tiny bit more insulation) and then a piece of paneling or drywall to finish out the opening. A picture frame molding around the outer panel and voile’. But while at the home center, the obvious alternative was sitting right there in the building materials bins: pegboard! I have always used pegboard in the darkroom for hanging reels, negative carriers and other such tools. I decided to substitute pegboard for the outer panel. This also led me to place the two foam panels together to allow enough space behind the pegboard for the hooks to clear.

The result was more than satisfactory, and can be turned back into a working window with minimal effort and some touch up paint.

May 23, 2010

In the White Room

Painting is finished - almost!  There are a few trim carpentry things left and then some touchups on nail heads and the like.  A little caulk, a little putty, and done.

Right now, everything is white.  It is really, really white!  I'm looking forward to getting the fixtures in just to keep from going snow blind ...


May 16, 2010

Drywall

I hate drywall. I consider it a necessary evil. When I built the last darkroom, it was part of a larger out building that contained my wife’s studio and some storage. I did all of the interior construction: electrical, plumbing, drywall and paint. A few years later, we remodeled a bathroom. The contractor I ended up hiring would do everything except finish the drywall and paint. Heck, I can do that!

Well, I did, but I had forgotten what a pain it is and how much I hated it when I was finishing the out building. A year after this, we did more remodeling, with the same contractor, and I found a good drywall/paint guy. I swore I would never do sheetrock again. I even had this same man back to do some work to sell the old house and a little at the new house.

However, the darkroom is an effort at saving money, so here we are. The drywall is all up, taped and bedded, sanded and ready to paint – by me! We have had high humidity all week and actual rain yesterday. No rain today even thought there was a 30% chance. Rain is in the forecast for the next several days. Of course, working on the darkroom is indoors and out of the weather, but the moisture is not helping. Just takes longer for things to dry.

I had hoped to have the painting done by the end of this weekend. Didn’t happen. Oh, well. Still, I will mark the final clean-up of the paint brushes as the end of the construction phase! It’s an arbitrary and probably meaningless milestone, but I’ll mark it anyway. From here, it is the installation of the fixtures.  Oh, wait, there's the window ...

May 8, 2010

Score!

The current enlarger inventory includes a Beseler 4x5, and an Omega 4x5.  Both acquired inexpensively.  All kinds of carriers and do-dads for both.

I went out today and picked up another Beseler 4x5 chassis!  I already have two heads (dicro and condenser), and had planned on switching them out (fairly easy with a Beseler).   A young film photographer had put one on Craigslist because he was cleaning out his stash.  Once I got there, I also picked up two Kodak "D" safelights!

Now, I may have the Omega D5 with a Chromega head for sale.  Two enlargers is one thing, but three 4x5s is too much even for me.  With the Omega and some accessories I could sell separately, I should more than get my money back.

Life is good - but back to work.

May 2, 2010

Another darkroom construction blogger

Another local photographer that I know is also building a new darkroom (his 4th) and has decided to blog the effort.  It is an interesting project (beyond just being a darkroom) because he is building "portable".  Having had to move residence several times, he tired of starting over each time with a darkroom, and so is converting an old travel trailer that he can take with him - not to mention "on location" one would suppose.

Anyway, here's the link: http://notamethlab.wordpress.com/

I've also added a link on the Other Links page to another photographer whom I "know" only on the internet.  She, too has been blogging construction of a darkroom, and is finished!

Work continues

I want to update the blog at least weekly, whether there is much to illustrate or not.  There is some more drywall finishing and paint prep, and then paint will go up.  More wiring is in and all that's left is the overhead lighting.  Much work has been done in the stairwell leading up to the darkroom: drywall, lighting, etc.

I have chosen to paint the ceiling before I complete this wiring since I am doing it with exposed boxes and conduit that will go over the painted surface.  I'm concentrating on this so that I can get lights up - at least temporary ones - in order to make the remainder of the work easier.  Right now, there are no lights in the room and I am using temporary work lights mounted on a stand.  Serviceable, but not ideal, and I keep waiting to trip over the stand or the cord.

Here is the completed wall vs. the plan:


It is in this wall that I have made a mistake, although one I hope shall have little consequence.  The plan is to scale for the most part, if not absolutely precise.  (The stud placement and the dimensions are right enough, but you can see that the doorknob and the electrical boxes are more freely represented in their placement.)  If you look very closely, you may perceive that the door on the plan is wider, and it is.  I had planned for a 36" door.  I ended up with room for only a 32" door.  Also notice the added strip of drywall between the old sheet rock of the existing wall and the door.  Here's what happened:

As reported in the post on March 26, I had to replace the stud at the end of the existing half wall since it was so warped.  Instead of actually replacing the stud (as depicted in the plan), I simply cut it off and attached the new one to the side of the old.  This added an inch and a half.  Then, in framing for the door, the new stud became the "king" stud, and an additional 2x4 was placed as the "jack" stud.  The jack studs are required to support the header above the door.  Anyway, I had now added 3 inches and a 36" door would no longer fit.  My mistake was not thinking far enough ahead to shorten the existing half wall in order to leave enough room to frame for a larger door.  Oh, well.

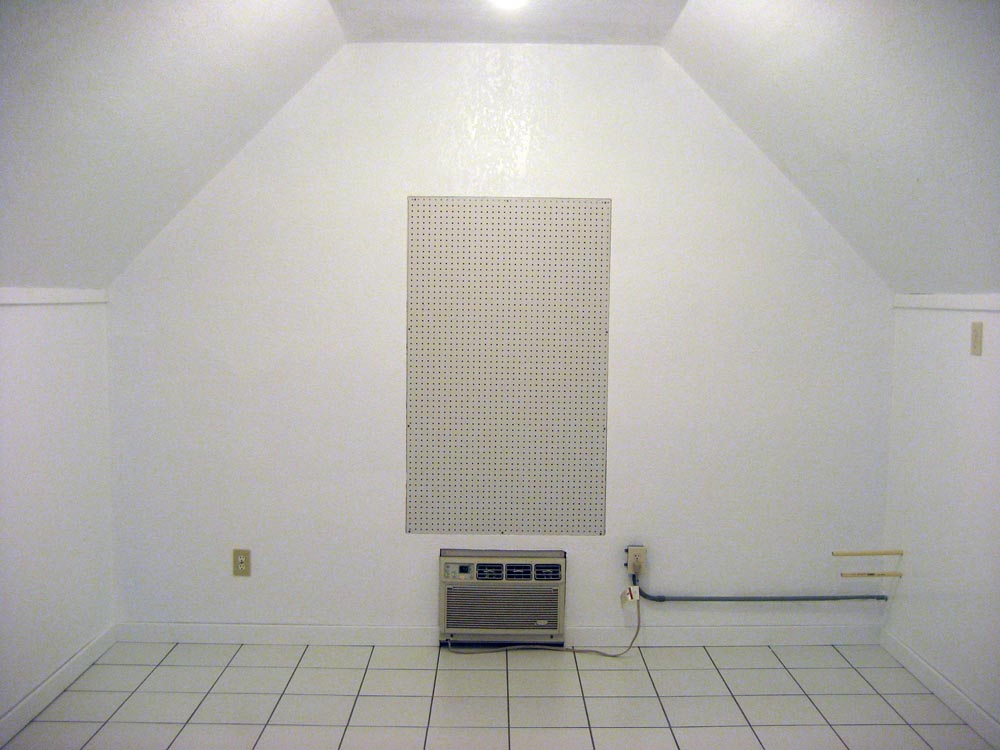
The wire coming out near the top of the wall is for the overhead lights and a ceiling fan.  It will enter a yet to be installed junction box and go on up to the conduit for the lights on the ceiling.  This all happens, of course, after the ceiling is painted.